Installing Fonts on Windows 10
The moment I discovered there were fonts that existed outside of what just comes on your computer was an almost spiritual moment for me. At some point when we are more comfortable with one another, I will share with you how I used Papyrus on my wedding invitations, because that was literally the only font I could find that had the right feeling. I may even share with you how I felt that fonts like Rage Italic were acceptable to use in nearly any circumstance. But I am not sure we are there yet… these stories took place before that fateful day when I first learned about installing fonts.
But not everyone knows how to install a font. In fact, it’s the number 2 issue we get asked about (we will get to number 1 (licensing) in another blog). It can be overwhelming when you first discover a huge catalog of fonts to try out and don’t know how to get them. Then you can’t quite figure out how to use them. If this is you, you are most certainly not alone. Two to three times a day, we are asked questions about installing fonts.
Honestly, finding the perfect font you would like to install is the harder part once you get the hang of things. If you haven’t reached that near spiritual moment and are still using default windows fonts, try out Fontspace and check out over 66 thousand fonts, great for personal use.
Step by Step For Installing Fonts
Place your downloaded font on the desktop.
Most fonts will come in a zip file* (Image 1: looks like a file with a zipper on it), so you will want to right click on the zip file and choose the option that says “extract all” (Image 2).
The next screen helps you select the destination to unzip the file. I recommend making sure that the desktop is the selected folder (Image 3). If it doesn’t say ‘Desktop’, it’s not a problem, you will just need to know the folder that it will be unzipped to. If you have a different folder selected and would like to have the font go to the desktop, just click the browse button (Image 4) and then select ‘Desktop’ under ‘This PC’.
A new window will open up on your screen. Great job! You did it right. There might be one file or several depending on the font you downloaded. Next, you will need to right click on the font file you would like to install first and select ‘install for all users’ (Image 5).
Image 1: Zip File
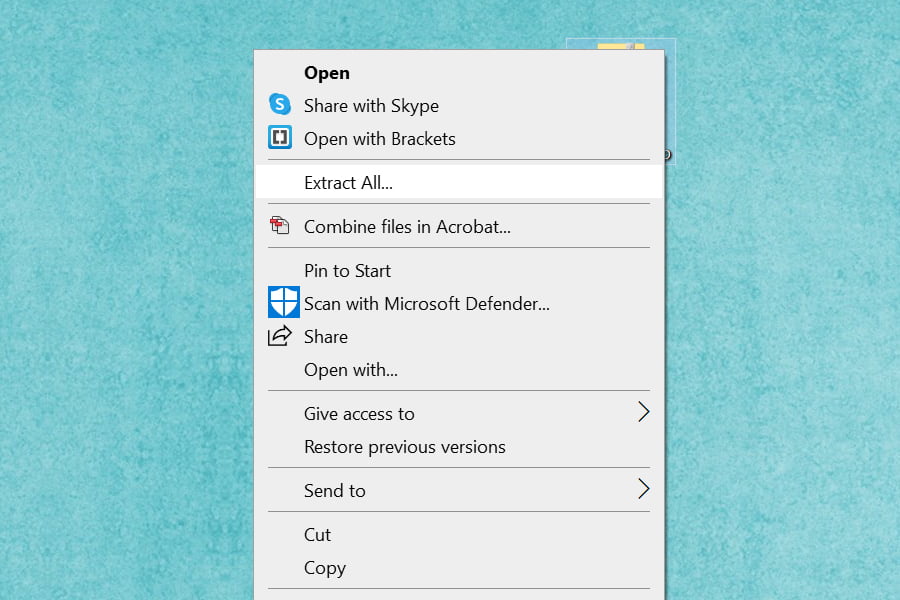
Image 2: Extract All
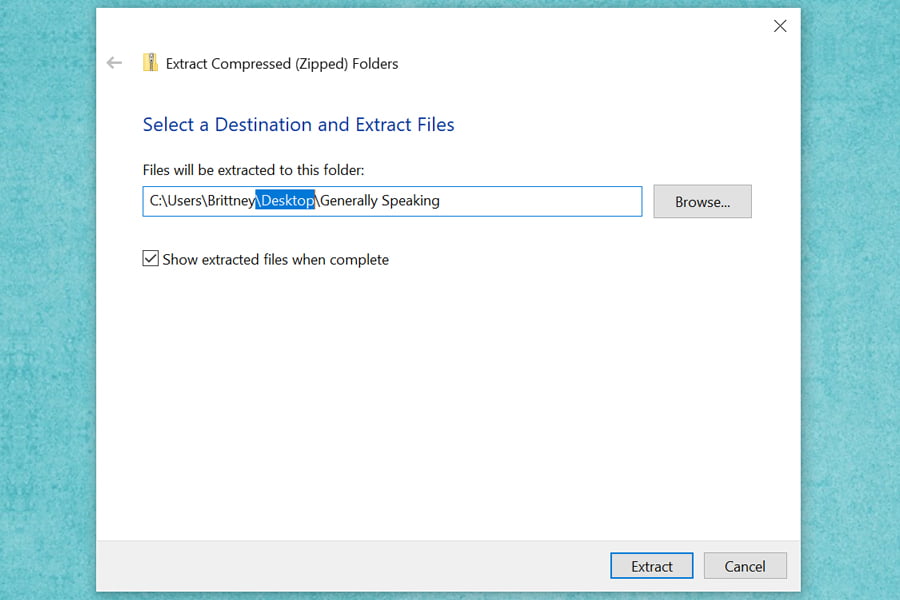
Image 3: Select Destination for File
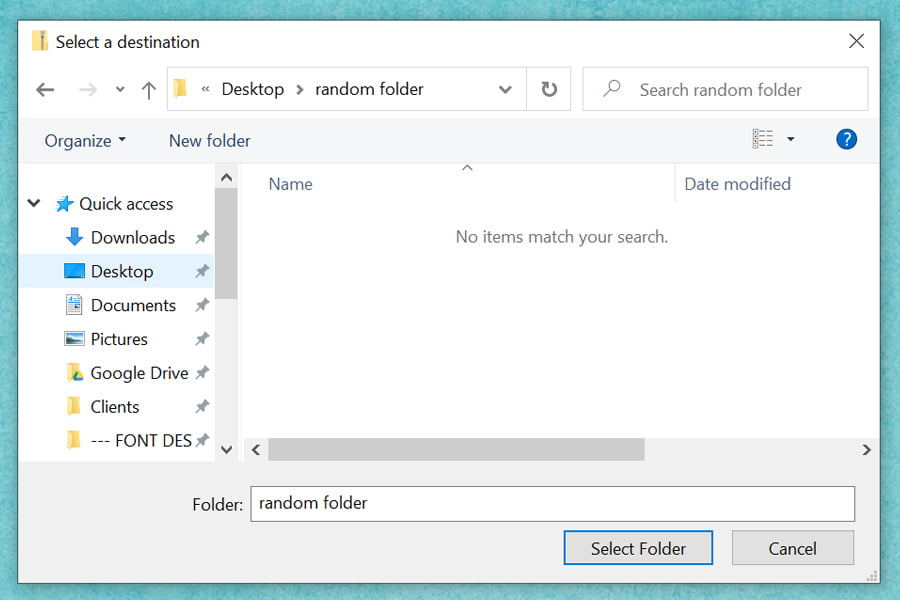
Image 4: Select Desktop
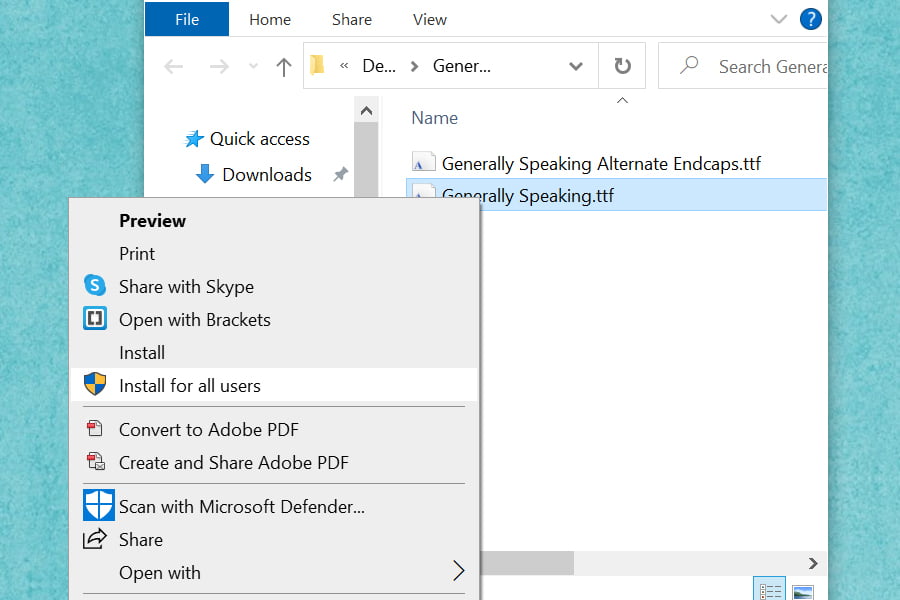
Image 5: Install for All Users
You’re finished. Nice work!!!
You may need to restart (close, then reopen) the program you are wanting to use the font in before it will show up in the options, and it’s also possible you will need to restart the computer before it will show up, but this is less likely.
A Few Notes
Having too many fonts can slow down your computer, so after you have two or three hundred you may want to look into a font manager.
Some people like to use our BMD-prefixed fonts, which are just versions with ‘BMD’ before the name of the font, so they are easy to find on your font list.
If you’re still having trouble, don’t worry. There are still many things to try, but we have never had a situation where we couldn’t get a font to work on someone’s computer. We will cover some of those scenarios in future blogs.
Video Tutorial
Follow our YouTube channel here.